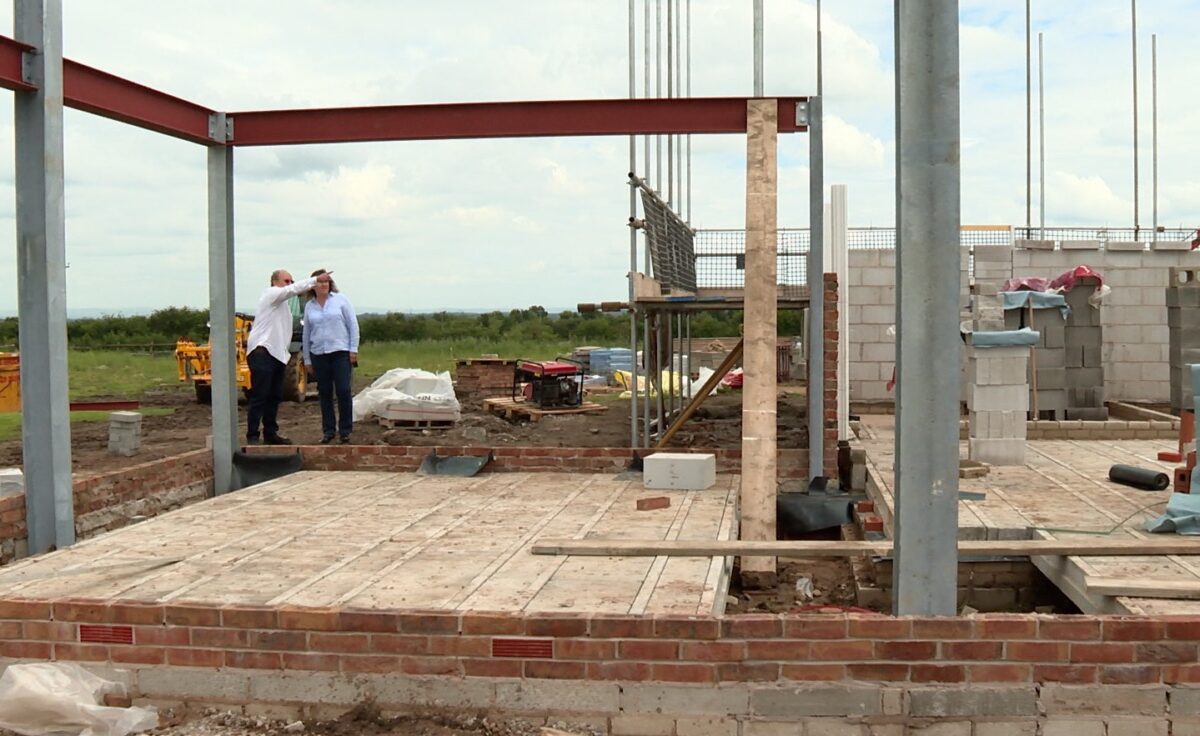
Now it’s time to begin the construction phase of your self-build project in earnest.
The substructure of a self-build
Once the footings have set, you’re ready to build the substructure. There are several ways of doing this and a number of variations. The two main types are either via a solid concrete slab or block and beam.
A solid slab is generally the cheapest option in terms of materials but it probably requires the most amount of work and takes the longest time. The space inside the outer blockwork is filled with compacted hardcore and a layer of sand. The damp proof course (DPC) is installed on top of this, to prevent damp getting into the building and then the concrete slab is poured. After superstructure the slab is covered by an insulation layer and a floor screed tops it off, ready for a floor finish. Any ducting for services, such as underfloor heating, needs to be installed before the concrete slab is poured.
A block and beam floor is quicker to build, being dry laid. It may be the most appropriate choice, particularly in areas of poor soil quality or where tree roots have to be taken into consideration. After the footings are poured and the external walls up to the DPC are built, a suspended floor, made from precast concrete beams, is laid. The gaps between the beams are filled in with foundation blocks, creating a single flat slab. After superstructure the block and beams are covered by an insulation layer and a floor screed tops it off, ready for a floor finish. As with the solid slab, the ducting for any services needs to be installed before the screed is poured.
The superstructure of your self-build
The next part of the process is the assembly of the outer shell of the building, with interior and supporting walls, floors and topped out with the roof structure and covering. It’s now that the project really starts to take shape.
There are several different construction methods, such as timber framed, but the vast majority of new-build projects use brick and block. For this traditional building method, there is usually an inner skin of blockwork, with an outer skin of facing bricks. If the external finish to the walls is to be rendered and painted, then the outer walls can be constructed in blockwork too.
You’ll have chosen your facing brick in advance, from the dozens of variants available. The thermalite blocks look heavier than they actually are, as the porous design is meant to limit thermal conductivity and consequently, heat loss through the external wall. They can also be drilled easily and even sawn in half. The walls will be a cavity construction, which will allow an insulator, such as mineral wool, to be inserted at the construction stage. Bricks and blocks will be bonded with mortar, which sets solidly in 24 hours. Wire or plastic ties will need to be inserted every few courses, to hold the two skins of brick and/or block together.
An inspector calls – building inspector visits
At various stages in the project the Building Inspector will visit the site, to ensure the work is being carried out to Building Regulations. We’ve already seen that they need to visit the foundations prior to the concrete pour. They may also need to see the floor and ceiling joists, to ensure they are in accordance with the approved drawings. They may also want to check the construction at roof height and the thermal and sound insulation, to make sure it is of the correct type and thickness. In general, as any queries with the design arise during construction, the inspector will be on hand to visit and discuss solutions with your construction team.
As the building grows and the walls gain altitude, a series of lifts of scaffolding will be required – each higher than the last. This will enable the operatives to work safely at height. Bricklayers will continue with the superstructure brick and blockwork, constructing any gable ends and chimneys in the process. Masonry finishes at eaves height, where the walls finish and the roof structure will begin. Lintels and flue liners will also be needed to be in place for any fireplaces and flues to be included in the design.
At higher levels, floors will also need to be formed, to create storeys to the building. Joists can either be built into the blockwork inner skin, or suspended on hangers (metal brackets fixed to the wall). Timber joists will be laid to centres and in some houses they may be visible – this is the distinctive beamed ceiling you see in older properties, but newer extensions and new-builds can include them too.
Easi-joists are a comparatively new alternative to traditional timber joists. They are parallel chord trusses, which are plated together with a metal web. The combination of the lightness of timber with the strength of the metal web means floors can be designed with a larger span and improved damping and stiffness characteristics too.
The timber staircases giving access to any upper floors will need to be constructed and installed as well.
The sky’s the limit – completing the superstructure
The wall plate is a horizontal timber at the top of the building that runs along the top of the wall. It’s bedded in mortar and secured to the inner skin of the construction. It is where the roof construction sits and evenly distributes the roof weight across the entire structure.
Roof structure
The roof structure can be built from components, such as spars and ridge, called traditional roof – hand built – or they can be lowered into place with lifting gear (or manhandled) if they are pre-made trusses. The spar ends protrude beyond the outer face of the brick or blockwork, forming the eaves of the building – a fascia will sometimes be fitted to the spars, which the guttering can be fixed to.
The whole timber roof structure will be covered with sheets – this is roofing felt, or a synthetic substitute, which is held in place with wooden battens, to provide waterproofing and to allow breathing. The roof is now ready to be tiled or slated.
If you have always dreamed of building your own home, contact us to find out more about our complete turnkey self-build solution for your self-build project.


